July 11 & 12, 2025 - Payson Scottish Festival. Learn more Here
August 29 - 31, 2025 - Island Park Festival at the Sawtelle Mountain Resort, Island Park Idaho. Learn more Here

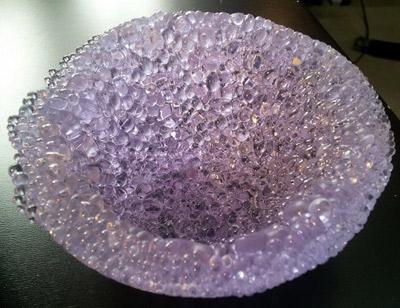
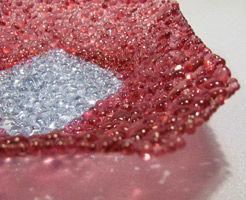
If you've seen the previous frit ball projects I've made and wondered to yourself "What magic is this?", here are some details for creating your own frit ball project...
 |
 |
Information on making frit balls from coarse frit, and firing schedules, can be found here: Frit Balls | Kilnforming
I made several pounds of frit to get started. It helps to have a friend with a very large kiln or it's going to take ages to create enough to make anything.
After choosing the mold I was going to use I traced that shape on a piece of 1/8" fiber paper and cut it out. Then I cut a long strip to create a dam the same size as the circle and joined the circle with a straight pin. Under this is a sheet of thinfire shelf paper.

The first two plates were really delicate, this time I wanted to make something that felt solid and heavy. I made sure to lay the frit in a thick layer - close to 1/2" and using nearly the full pound of frit.

I fired it according to the instructions on the Bullseye Idea Sheet - getting the glass just hot enough to tack fuse. That means it gets soft enough to stick together without losing it's original shape. As with a regular "plate blank" it comes out of the kiln flat.

The flat blank sits on top of the mold and goes into the kiln. To "slump" this piece it is heated enough to soften the glass until gravity causes it to sink into the mold.

And finally it's a finished bowl. There will be a little cold working involved to clean up a few of the rougher edged. This bowl is about 5" in diameter.
