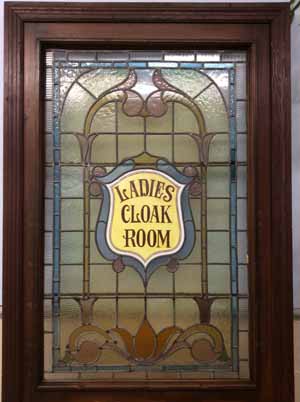
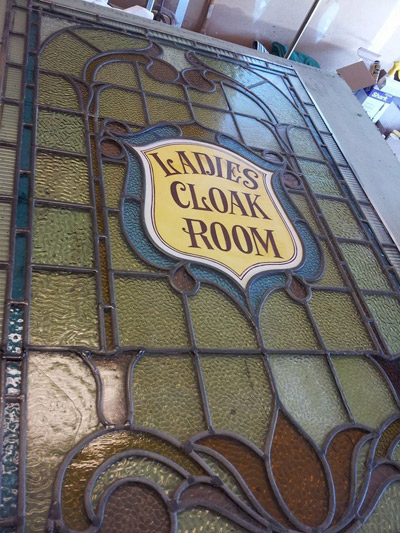
A friend recommended me for this project, and it's been a fun project to work on. I love antique glass and designs. The craftsmanship is incredible and in the case of this piece, there's a bonus - hand painted signage.
It had a few problems, not necessarily due to age. It had been repaired before and when the panel was reinstalled in the door it wasn't properly supported by the moulding causing the glass to sag.
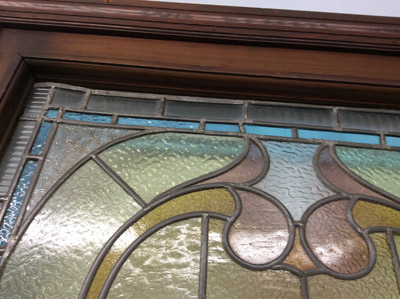
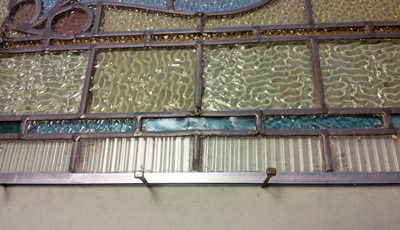
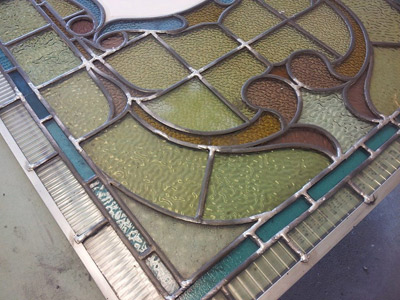
Here you can see how the glass have begun to bend and buckle under its own weight
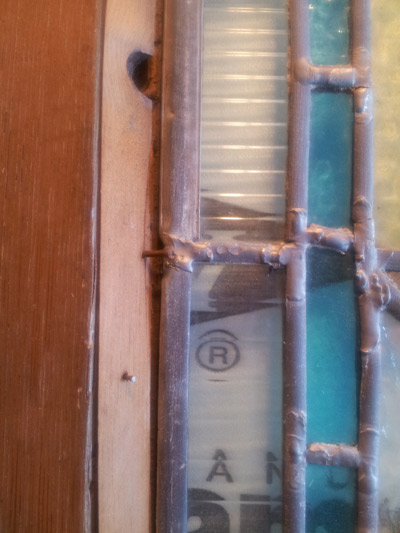
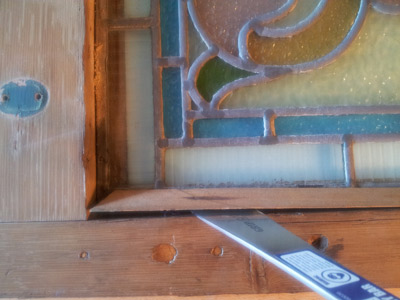
This is the top moulding in the back of the door - it doesn't even cover the edge of the panel. No support at all.
Because the door was big and the turn down the stairway to my basement studio is a little tricky, this job will be done in the garage. Good thing the hottest part of the summer is over!!
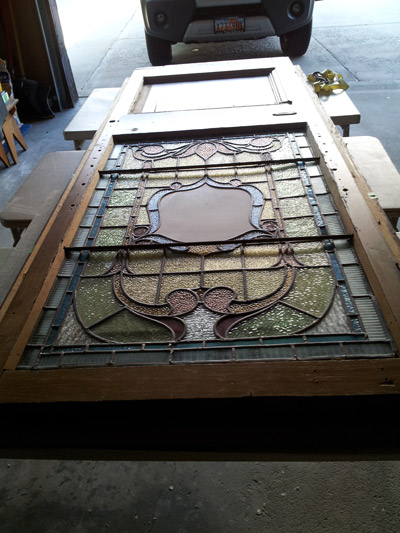
First - remove the moulding and get the panel out of the door so I could survey any additional damage
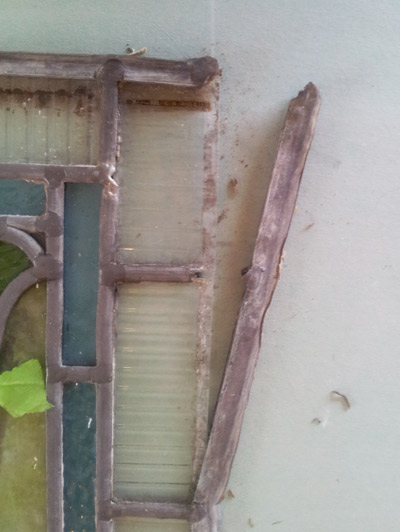
Unfortunately, the lead framing the panel was in pretty bad shape. In some places it was completely unattached from the panel. Even though this part will be framed in wood when it's installed in the door, a good solid frame will support the glass for years to come.
After using my Dremmel to cut away the lead where it was still attached, I used zinc H came to re-frame it.
I used a brass bristled brush to scrape away the oxidization on the lead came and re-soldered all the broken solders and anchored the new frame to the panel. Because we had decided not to replace any broken glass, I sealed any cracks with clear silicone gel.
After mudding the back to seal any gaps that existed between the glass and lead came, I let it sit and then flipped it over to work on the front.
The lead needed a good cleaning but that will happen at the end of the process with mud and whiting powder.
That wonderful hand painted sign needed to be protected while I worked on the front. First I cut a piece of paper to cover the lettering and then anchored it in place with contact paper, trimmed so it covered only the painted panel.

I cleaned and re-soldered all the broken or weak solders on the front. You can see the difference in the new solders vs. the old lead.
Mudding not only fills in any gaps between the glass and lead but it cleans up any flux left behind from soldering.

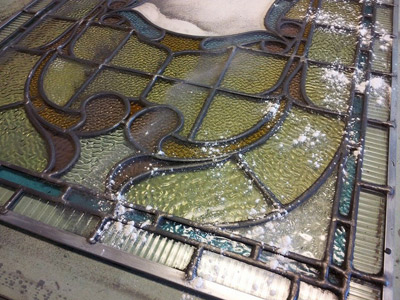
Whiting powder finishes the cleaning and polishing process. Normally I'd use a stiff bristle brush attachment and an electric drill but this is a special piece and I didn't want to do any damage. So I brushed it by hand - that's a work out!
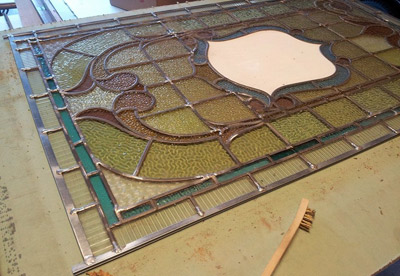
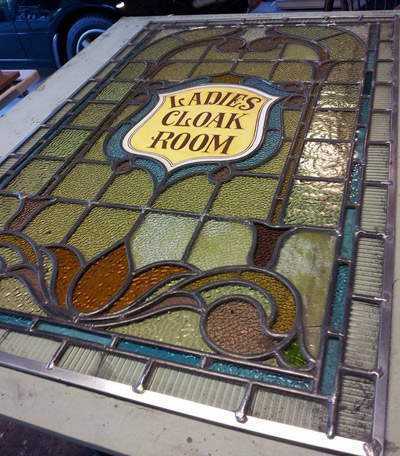
All the effort, sweat and elbow grease is worth it when you see the finished product. We now have a flat, strong, glass panel.
Before it goes back into the door, I need to attach reinforcement bars for additional strength. I love giving a beautiful piece of glass a longer life.