With a show coming I need to have some new pieces to that haven't been seen before. I've had a few ideas percolating in my head for months now and finally got them from the idea stage to the sketch pad and then to glass. But it's been nearly a year since I did any glass painting and found that I needed to brush up on my skills (no pun intended)
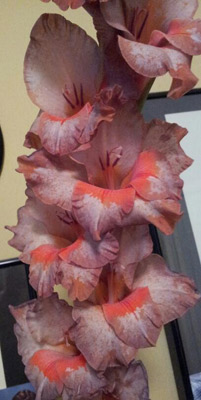
My inspiration for this piece were the flowers that grew in my new flower garden this summer. I don't remember choosing this amazing color when I bought the bulbs early last spring, but when the bloomed they were pretty amazing.
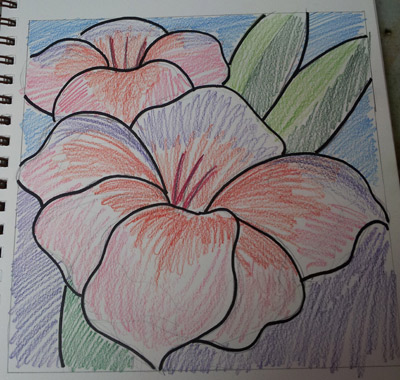
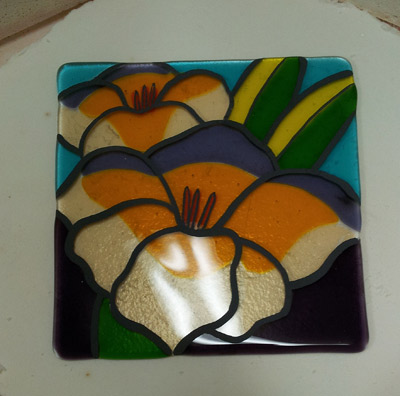
The first step is to prepare the color sketch to get an idea of what I wanted the piece to look like. I'd been mulling it over for a long time and finally had the concept.
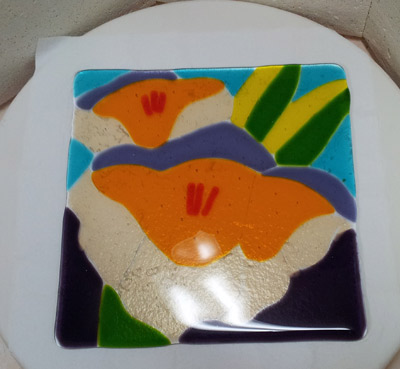
I cut my colored glass and put it in the kiln to fire. I'm using a "striker" glass called Tangerine. Strikers change color in the kiln. Tangerine is a tough one because it's easy to confuse with the amber glass.

You can see the difference in the tangerine striker glass after its has been fired
The first step in painting is the outline. And then back into the kiln to flash fuse the paint and adhere it to the glass.
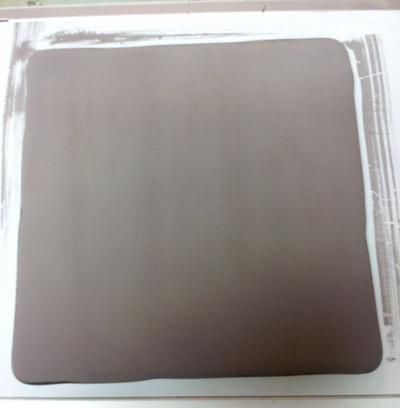
Next comes the first layer of shading. The entire piece is covered with a mask of Bistre Brown and this is what it looks like:
I put it on a light box and remove everything that "isn't" the darkest shadow. Then back into the kiln for a flash fuse.
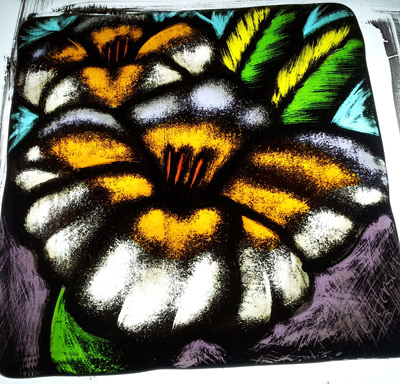
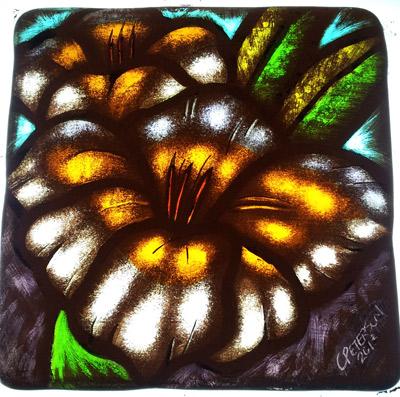
Finally a layer of Umber Brown shadow and back into the kiln for a final time. This time instead of a flash fuse the glass goes through a full fuse to properly anneal the glass to avoid any unfortunate breakage down the road. And the final piece is complete: